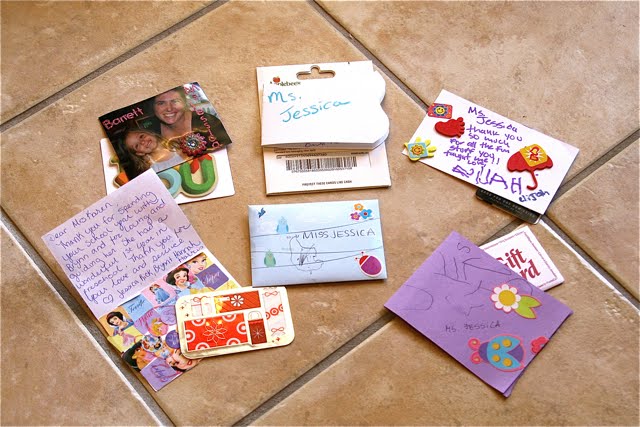
1. Have your child decorate a 3"x3" notecard or piece of construction paper with stickers, drawings, text, pictures etc...

2. Purchase a gift card.
3. Make envelopes for notes and gift cards by folding a piece of card stock in half the long way and then cutting in half (you will have two envelopes). Write something cute on the outside of the envelope and/or decorate with stickers, glitter, and pictures.

4. On the back of the envelope poke 2 small holes and thread in one long dowel rod. Use scotch tape to secure the rod to the cardstock. Also, use scotch tape to seal up the sides of the envelope.


5. Insert one child's note and gift card into each decorated envelope.


6. Paint the wooden letters a color that coordinates with your flower pot. Add decorative embellishments if you like. Let dry while you work on assembling the flower pot.

7. Place one or two pieces of floral styrofoam in the bottom of your container.

8. If necessary, use wire cutters to separate your bundle of flowers into individual stems.
9. Start arranging your flower stems so colors are mixed up evenly around the container.
10. Add fun, coordinating embellishments (mesh flowers, pin wheels, butterflies etc...)
11. Push in the envelope sticks in various spots around the flower pot. Make them different heights.
12. Fill the pot with Spanish Moss to cover styrofoam and help hold the flowers in place.
13. Use hot glue to attach the wooden letter to the front of the pot.


14. Spread out Clear basket wrap and pull up and over pot. Secure at the top with coordinating wired ribbon and tape the sides toward the back of the pot.